Melted Crayon Art in a few simple steps
Share This:
Melted crayon art is a fun and easy way to create colorful decor for your classroom! I decided to give it a try, and here is how it turned out:
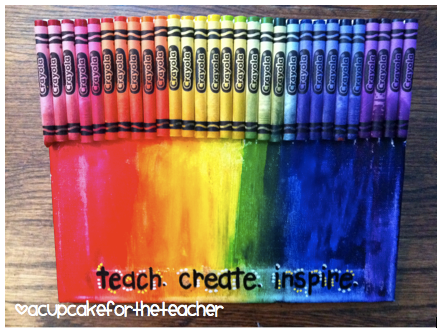
I’m pretty excited about the final product! It’s so bright and cheery! I will quickly run through the steps I took to create this melted crayon art masterpiece.
Supplies for melted crayon art
You will need the following supplies to create your melted crayon art:
- 8×10″ canvas (or any size you prefer)
- 64 count crayons
- hot glue gun
- blow dryer

steps to create melted crayon art
Note: If you have a Cricut, I recommend using it to add words with permanent vinyl. At the time of this post I did not own a Cricut… but I do now!! Follow these steps to add words if you do not have access to a vinyl cutting machine.
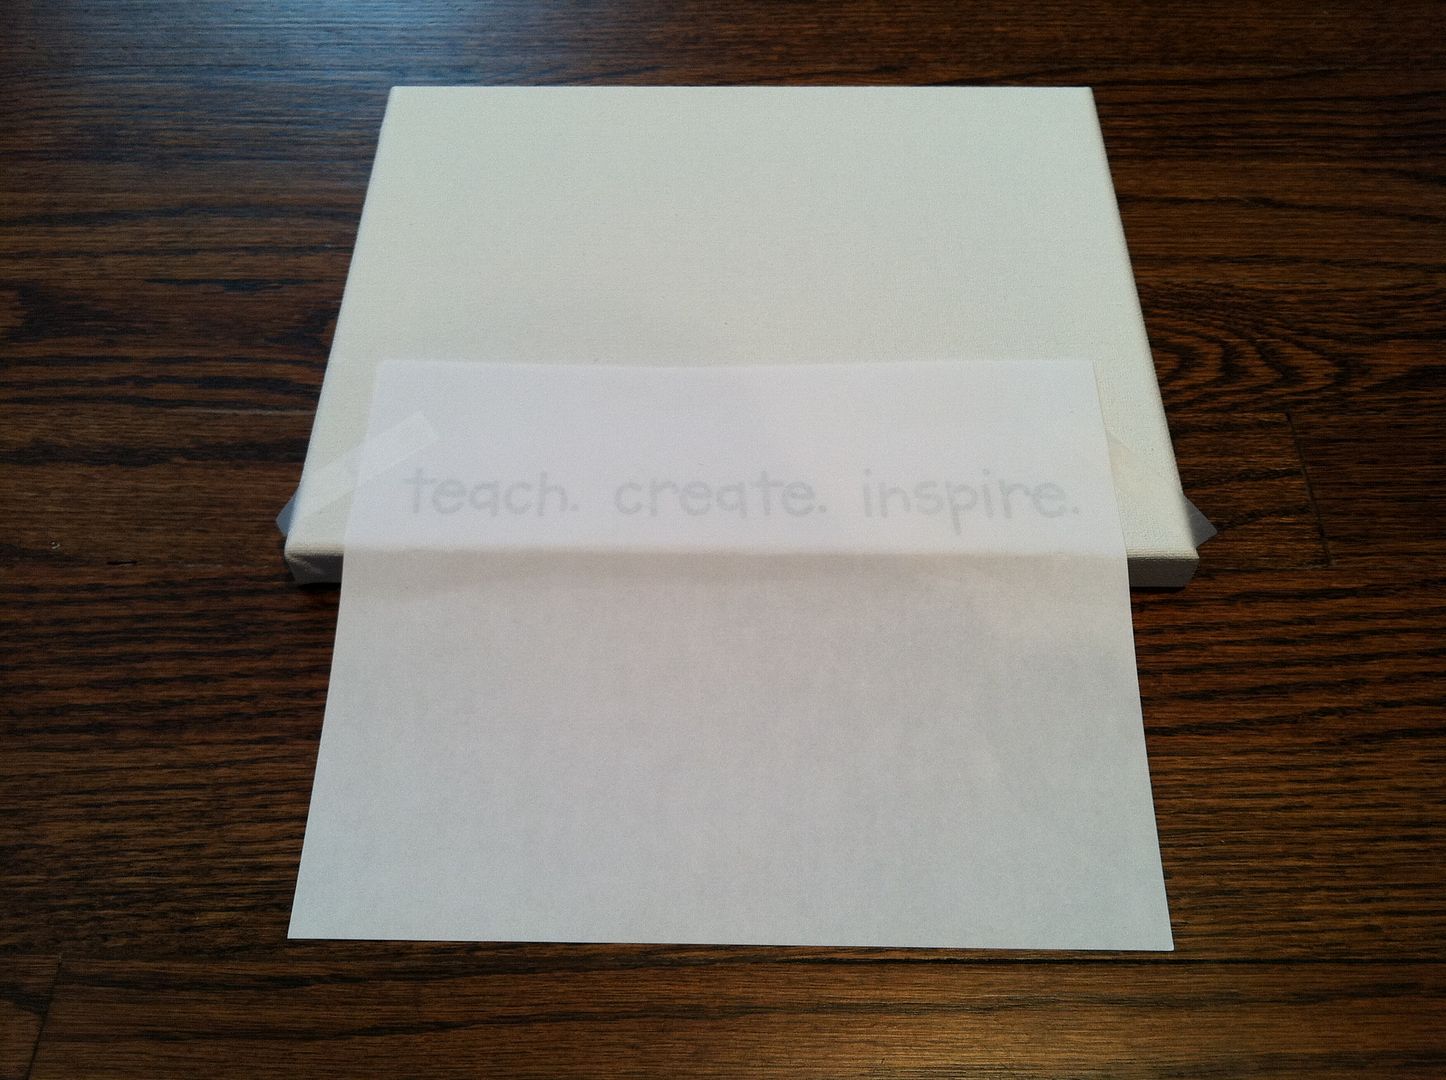
Once I had my supplies ready, I typed my words using “word art” in a PowerPoint document. You can also use Word. Then I flipped the words horizontally so they printed as a mirror image:

Then I flipped the printed paper over so the words were facing the right way, with the ink side down, and I taped it to the canvas:
Next, I rolled up a paper towel, wet it, and pressed it down on the words:
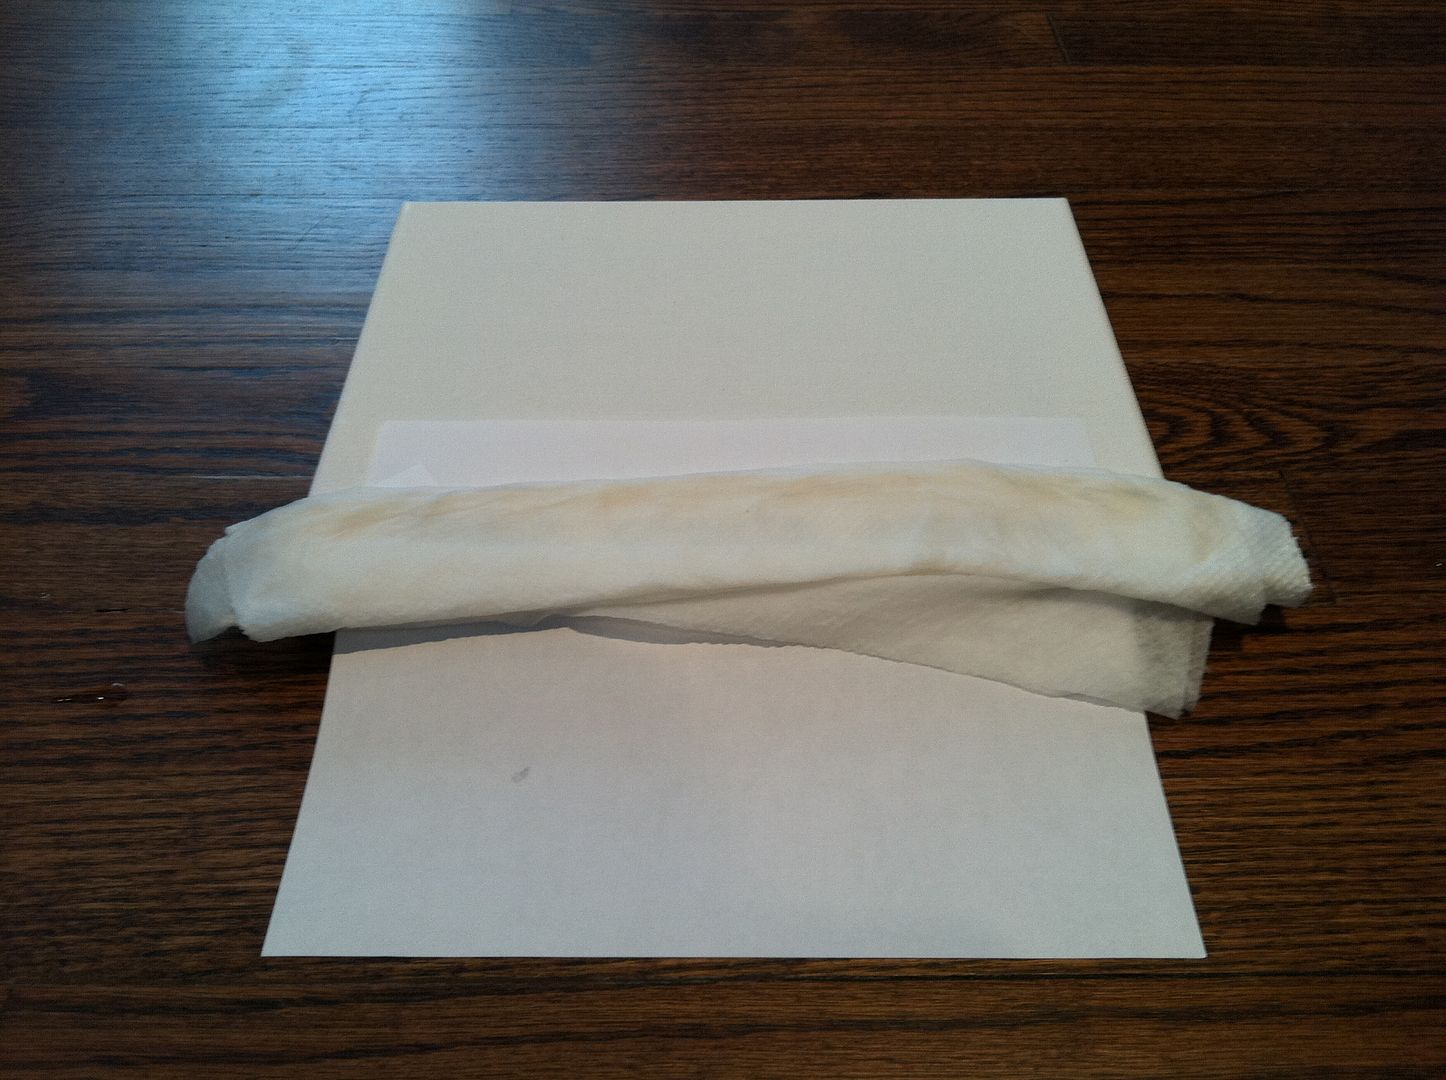
I made sure to press enough to soak through the paper so that the ink would transfer onto the canvas:
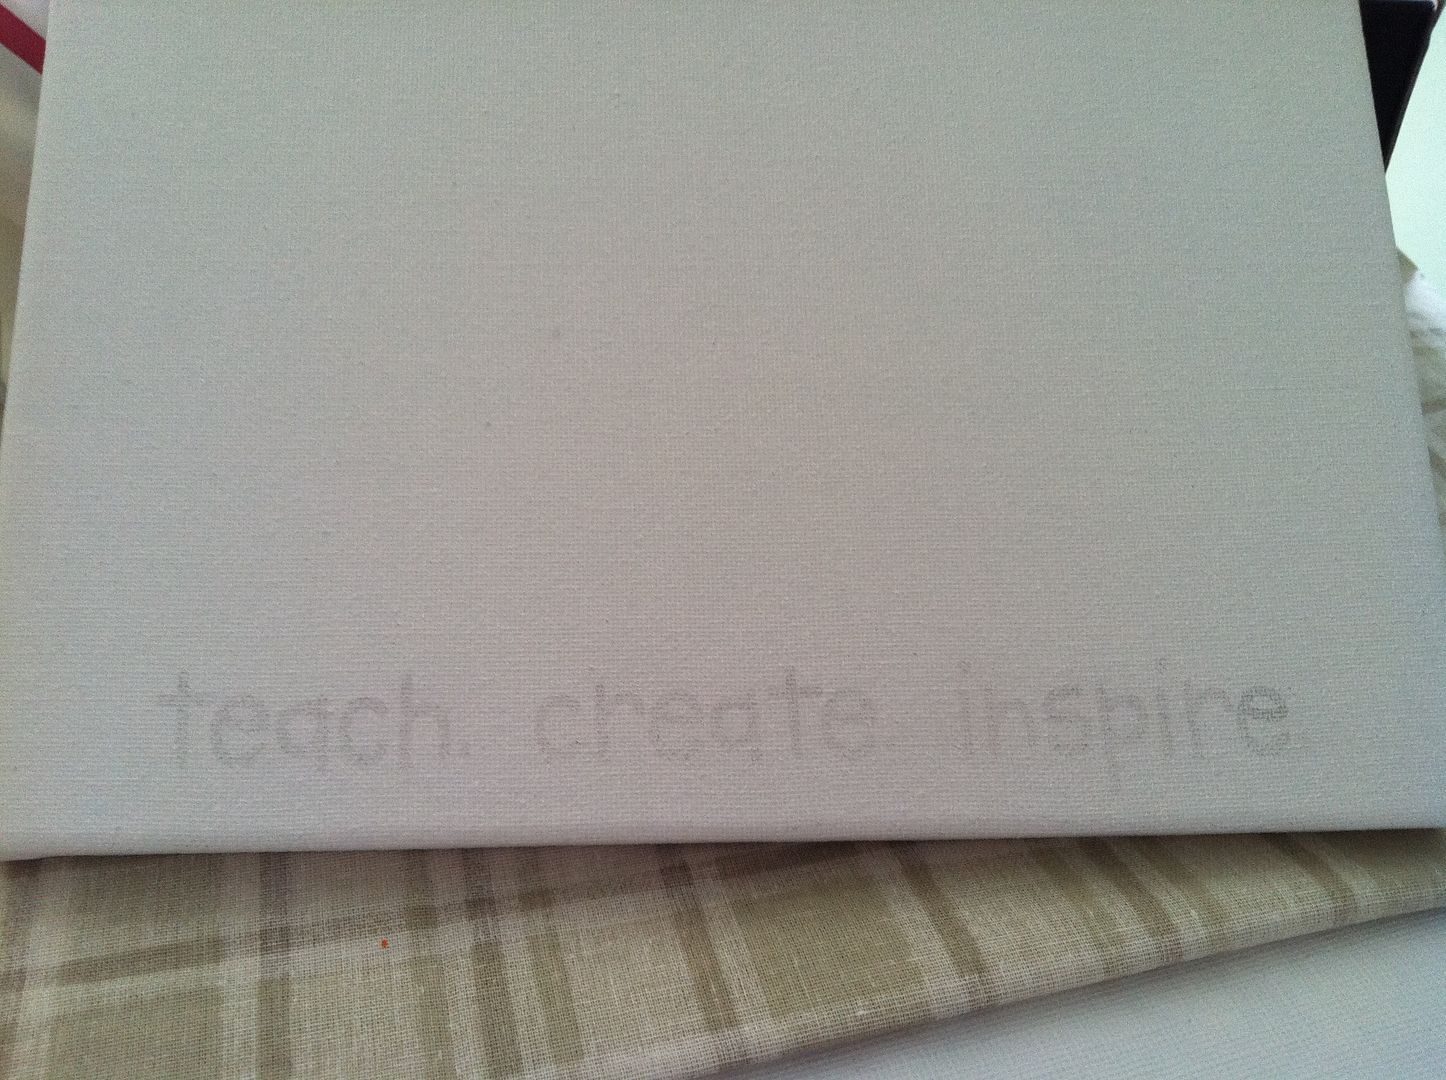
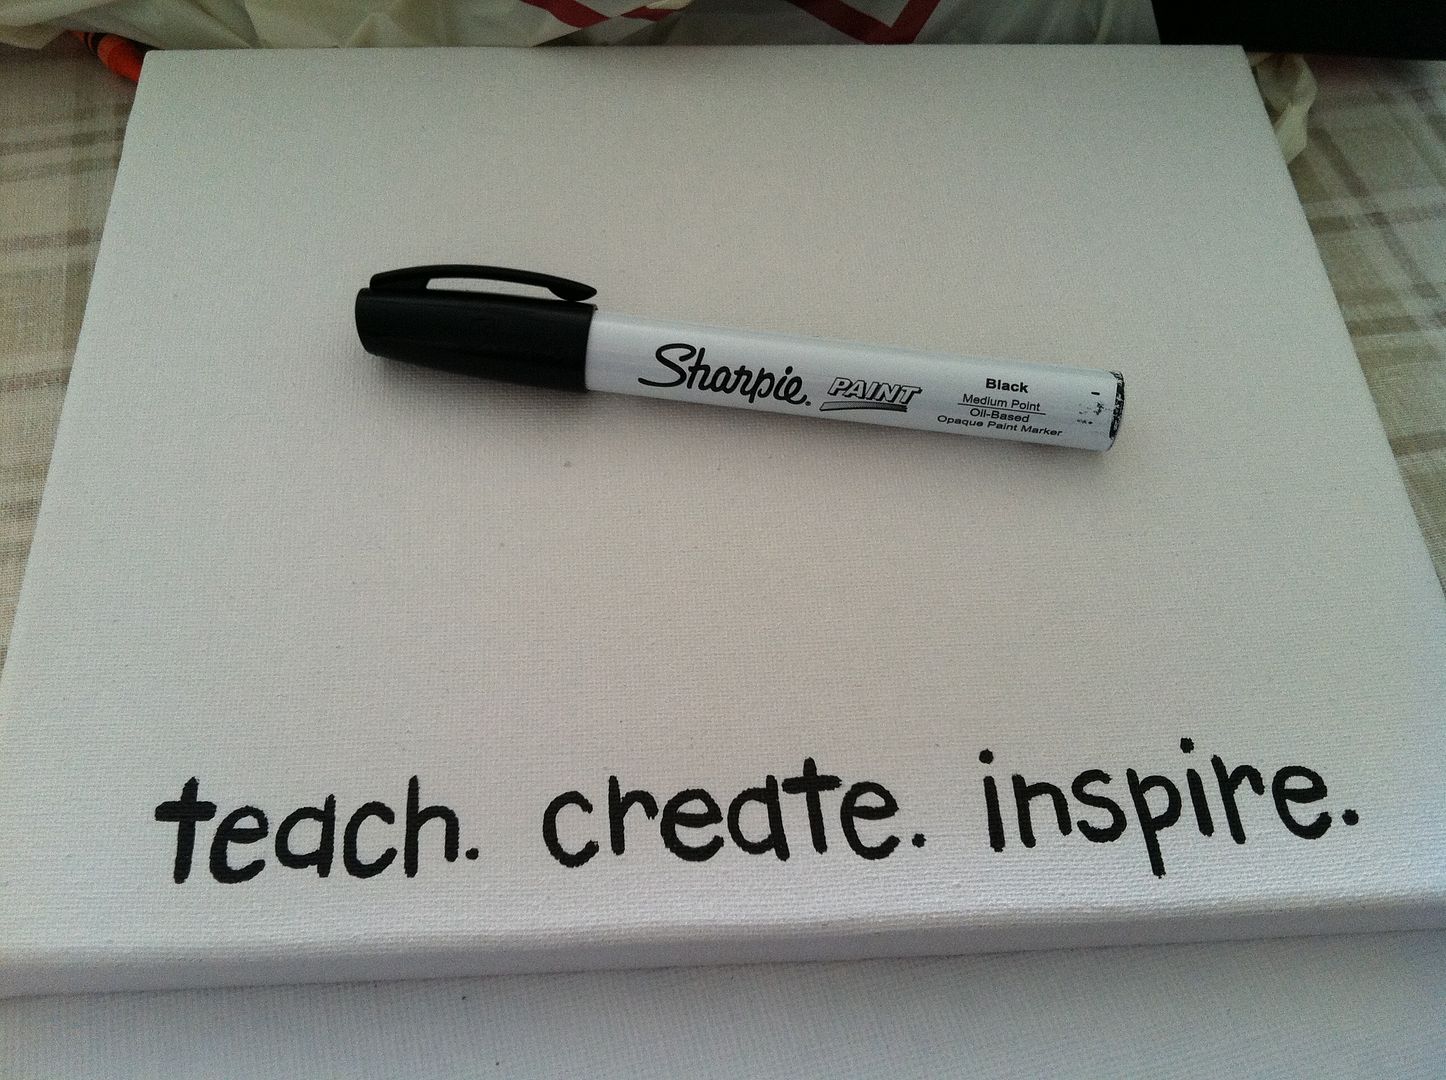
I get impatient, so I didn’t wait as long as I should have, and the ink was very, very light. But it was good enough for me. I used a blow dryer to dry the canvas (again, no patience) and then grabbed a black paint pen (a regular Sharpie would work, too) to go over the letters:
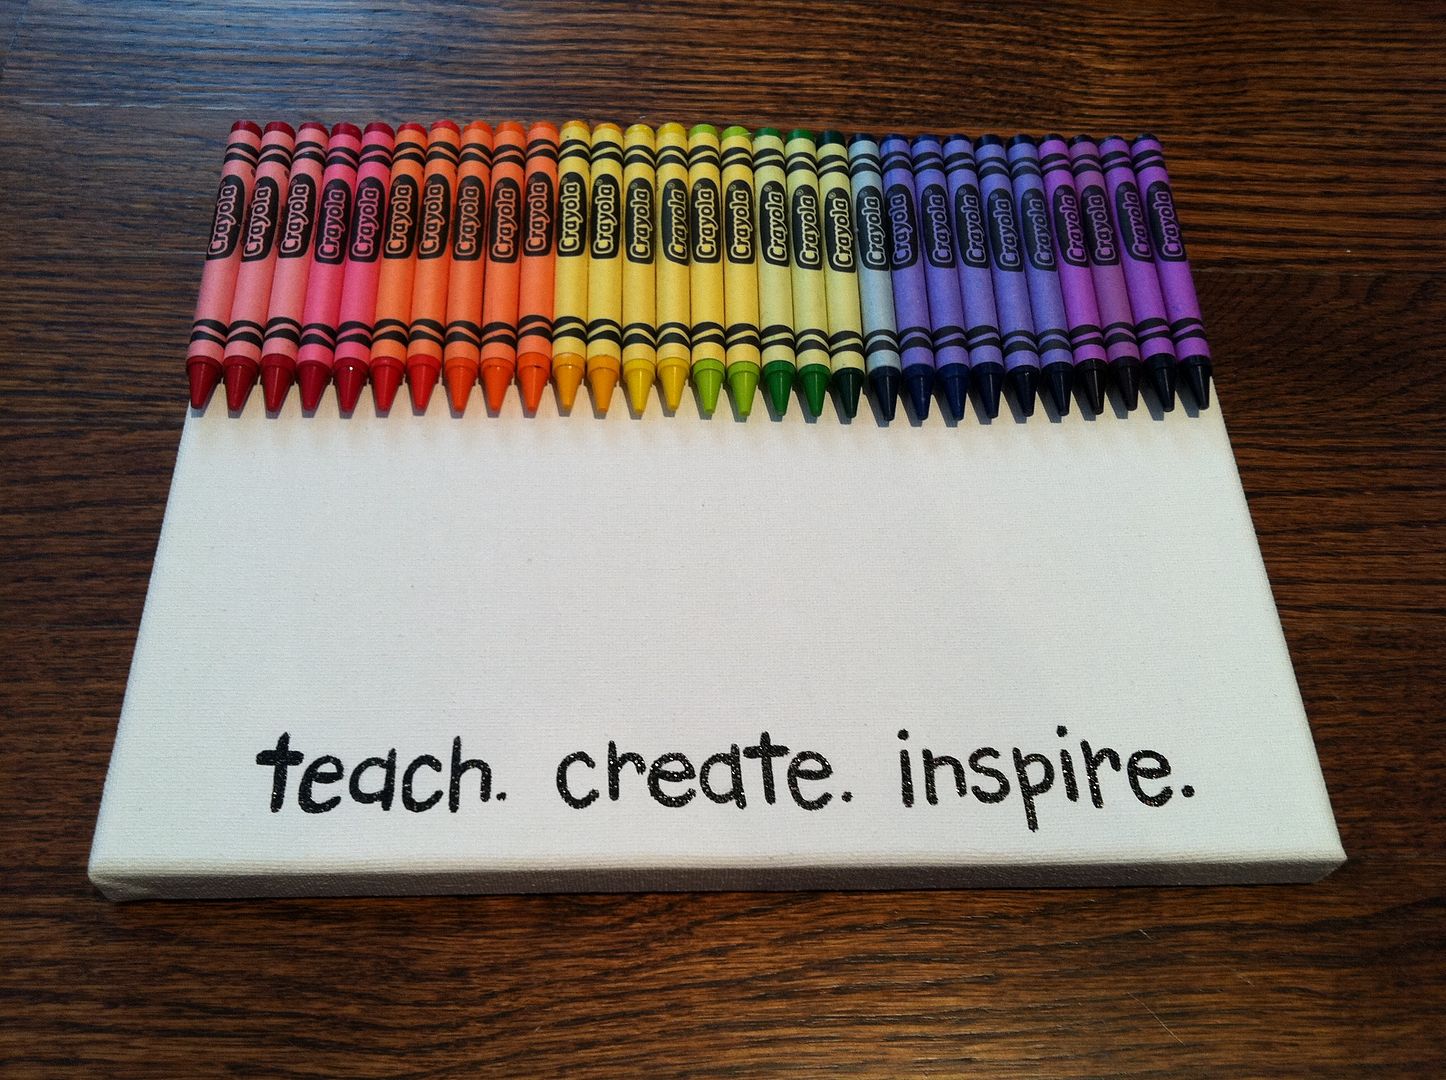
After finishing the letters, I was finally ready to start melting crayons onto the canvas. I gathered my crayons and used hot glue to attach them to the canvas in rainbow order, Crayola symbol face up:
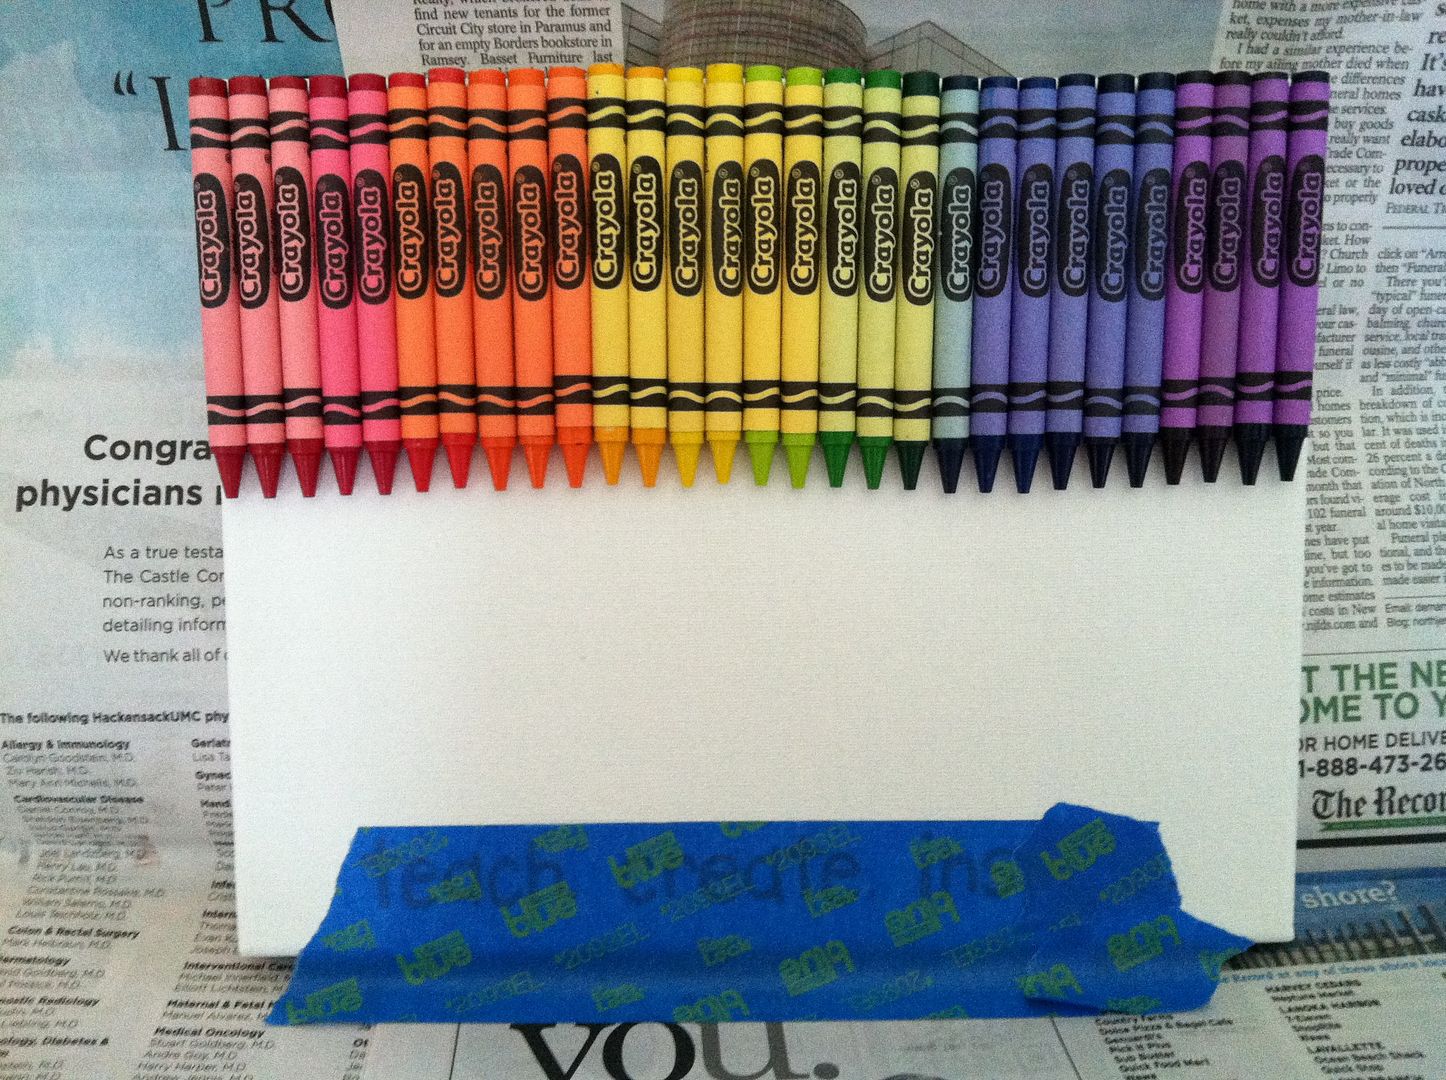
To prevent the words from getting messed up, I covered them with painter’s tape. Then I set up my work station (aka the floor) by covering it with newspaper, both against the wall and on the floor because the melty crayons will splatter:
Finally, I turned the blow dryer on hot and got to melting! The crayons took no time at all to melt. If you want a drippy look, it seriously takes like five minutes. I went for a blended look (which does take longer) because the painter’s tape didn’t work as well as I wanted. I ended up ripping it off and letting the entire canvas fill with wax.
When I had the wax blended the way I wanted, I grabbed paper towels and began to “scrub” the wax. It gave the piece a “weathered” look AND it allowed the letters to show through the wax. I went over the letters a second time with paint pen and added some details too:
And that’s that!! A super colorful and handmade piece of art perfect for any classroom!