DIY Classroom Birthday Board
Share This:
If you’ve been following me for awhile, then you already know that I LOVE to craft. So when I was given the opportunity to partner with Cricut, I jumped at the chance! They asked me to create some fun DIY classroom projects using their Cricut Maker machine. I’m so excited to share my first project with you!
This is a sponsored conversation written by me on behalf of Cricut. The opinions and text are all mine.
This post contains affiliate links.
Choosing what to make first was the hardest part of the whole process– seriously! Cricut makes it extremely easy to learn how to use their machines. You can find tutorials on their site, and each machine comes with an example project and instructions so you can get a feel for how it works. There are also various tutorials around the web for all different kinds of crafts.
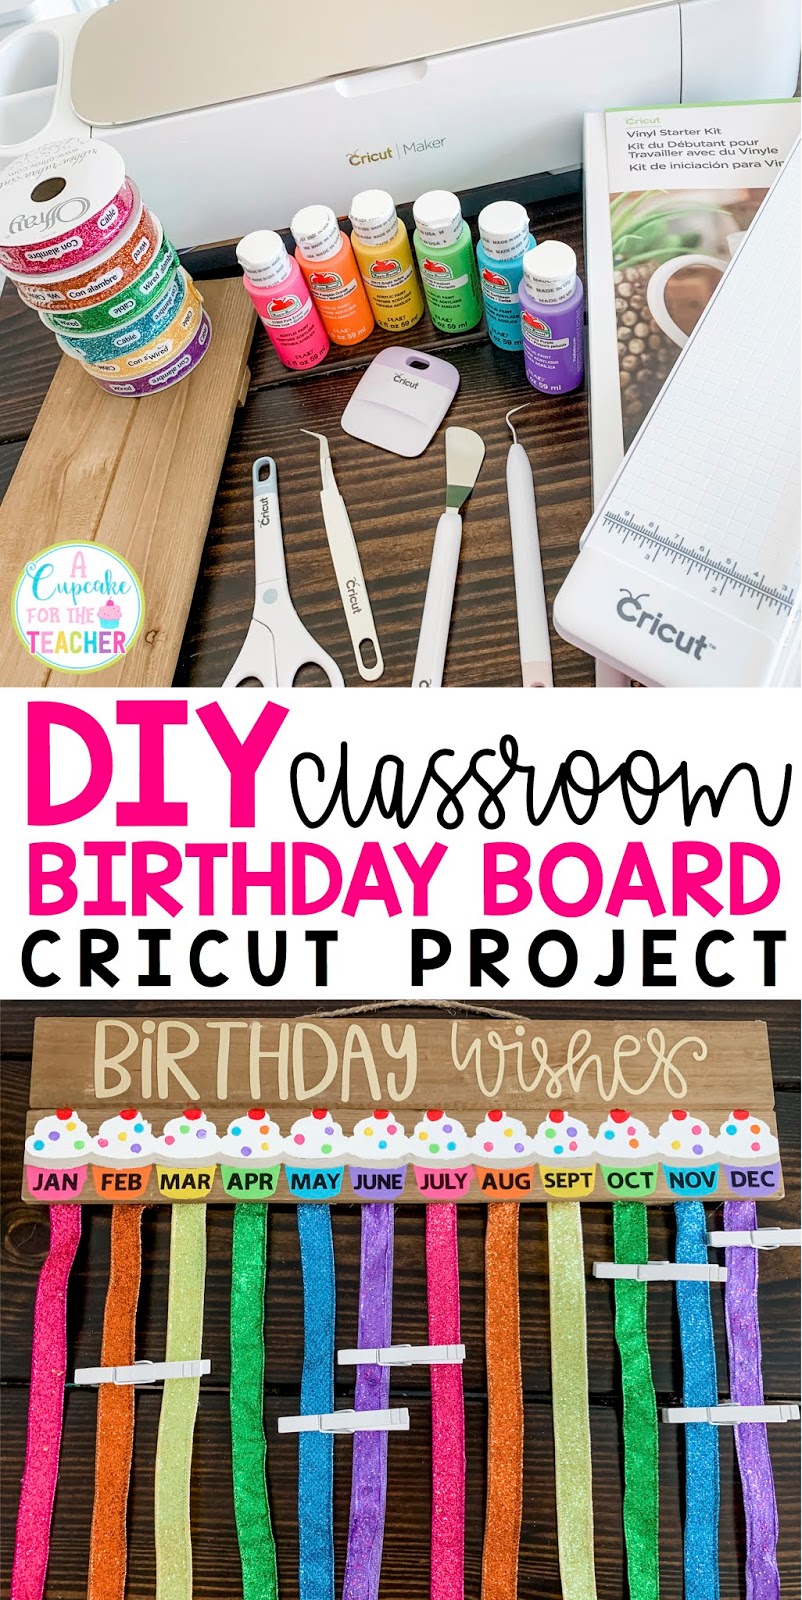
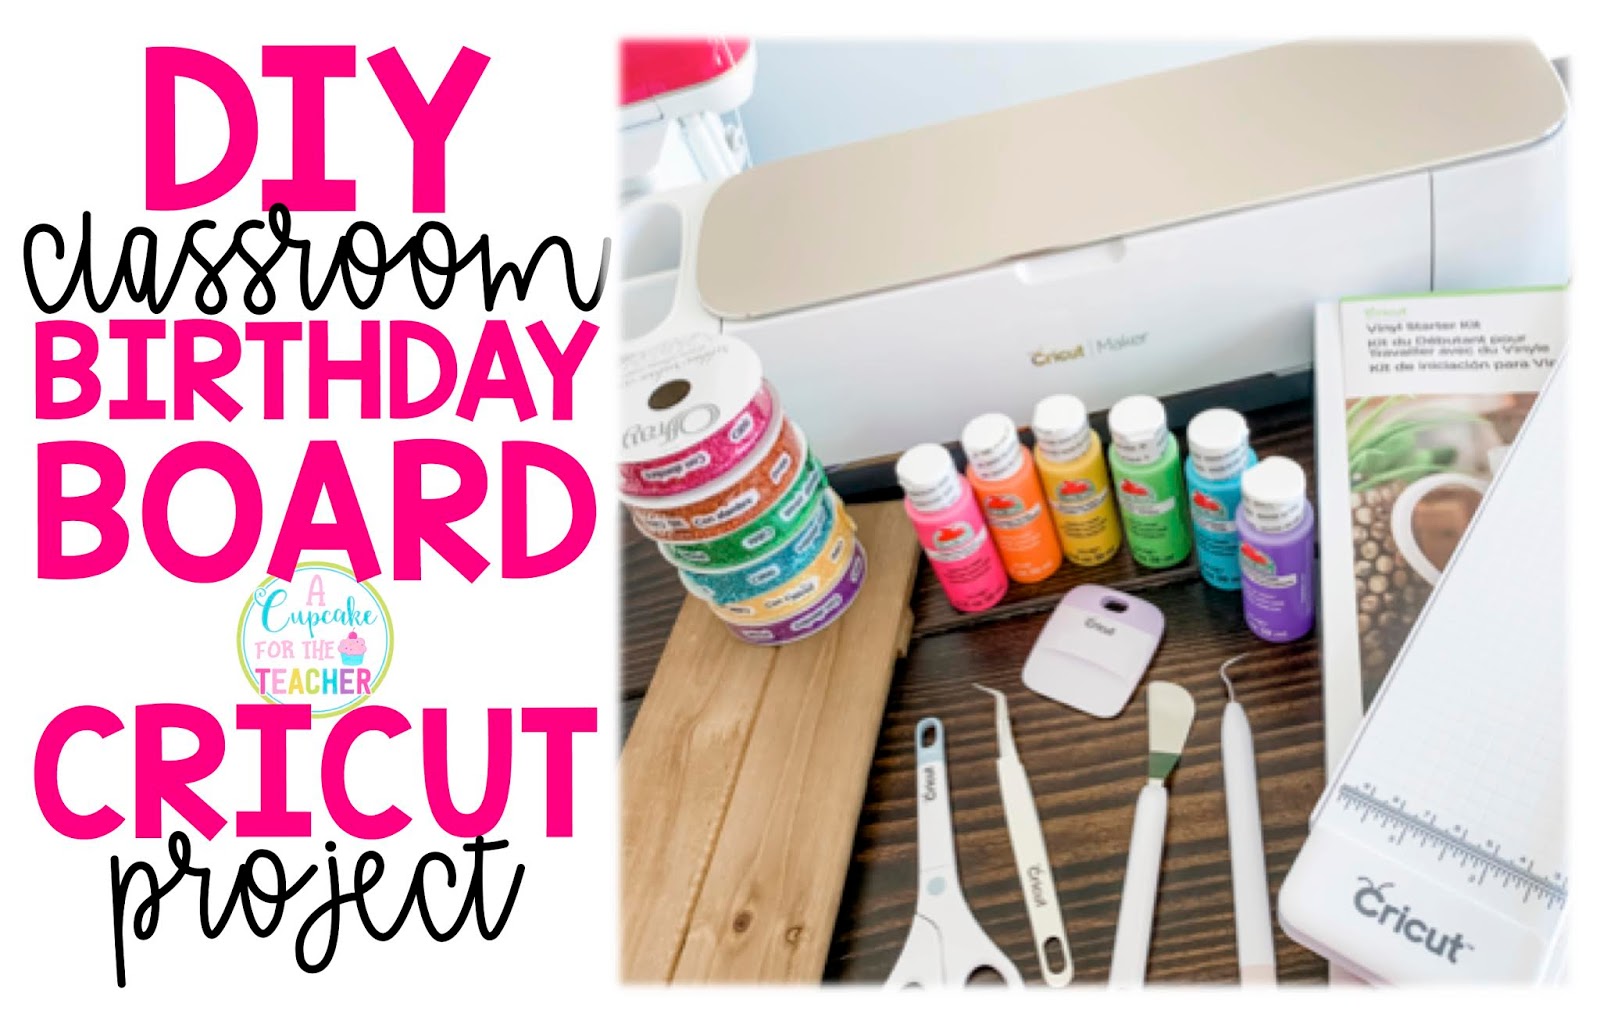
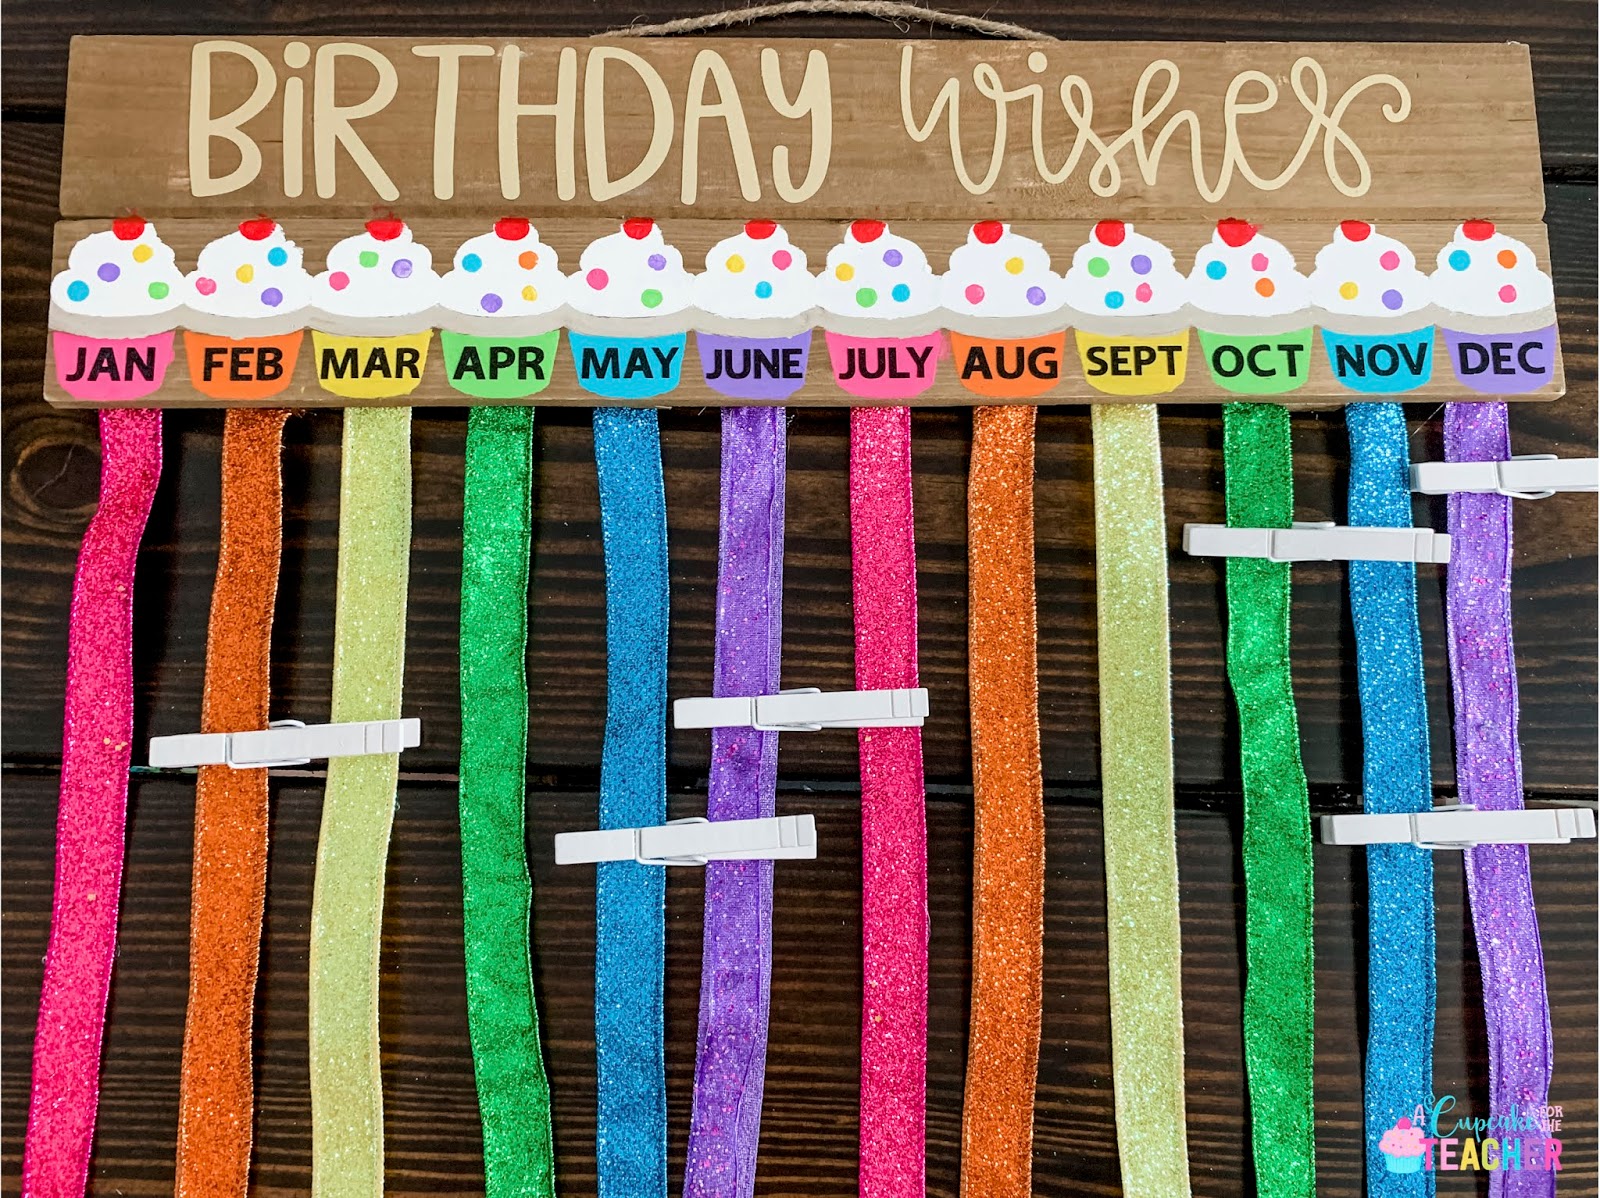
For my first project, I decided to make a classroom birthday board. I am in LOVE with how it turned out! If you want to make your own, keep reading for a supply list and step-by-step instructions.
Materials
You will need the following materials to complete this project:
- Cricut Maker or Cricut Explore cutting machine
- Cricut StandardGrip Machine Mat
- Cricut Shimmer Premium Vinyl, Permanent (suggested: black and gold)
- Cricut Transfer Tape
- Cricut Basic Tool Set
- wood pallet (available at craft stores, approx. 20″ x 5″ for best fit)
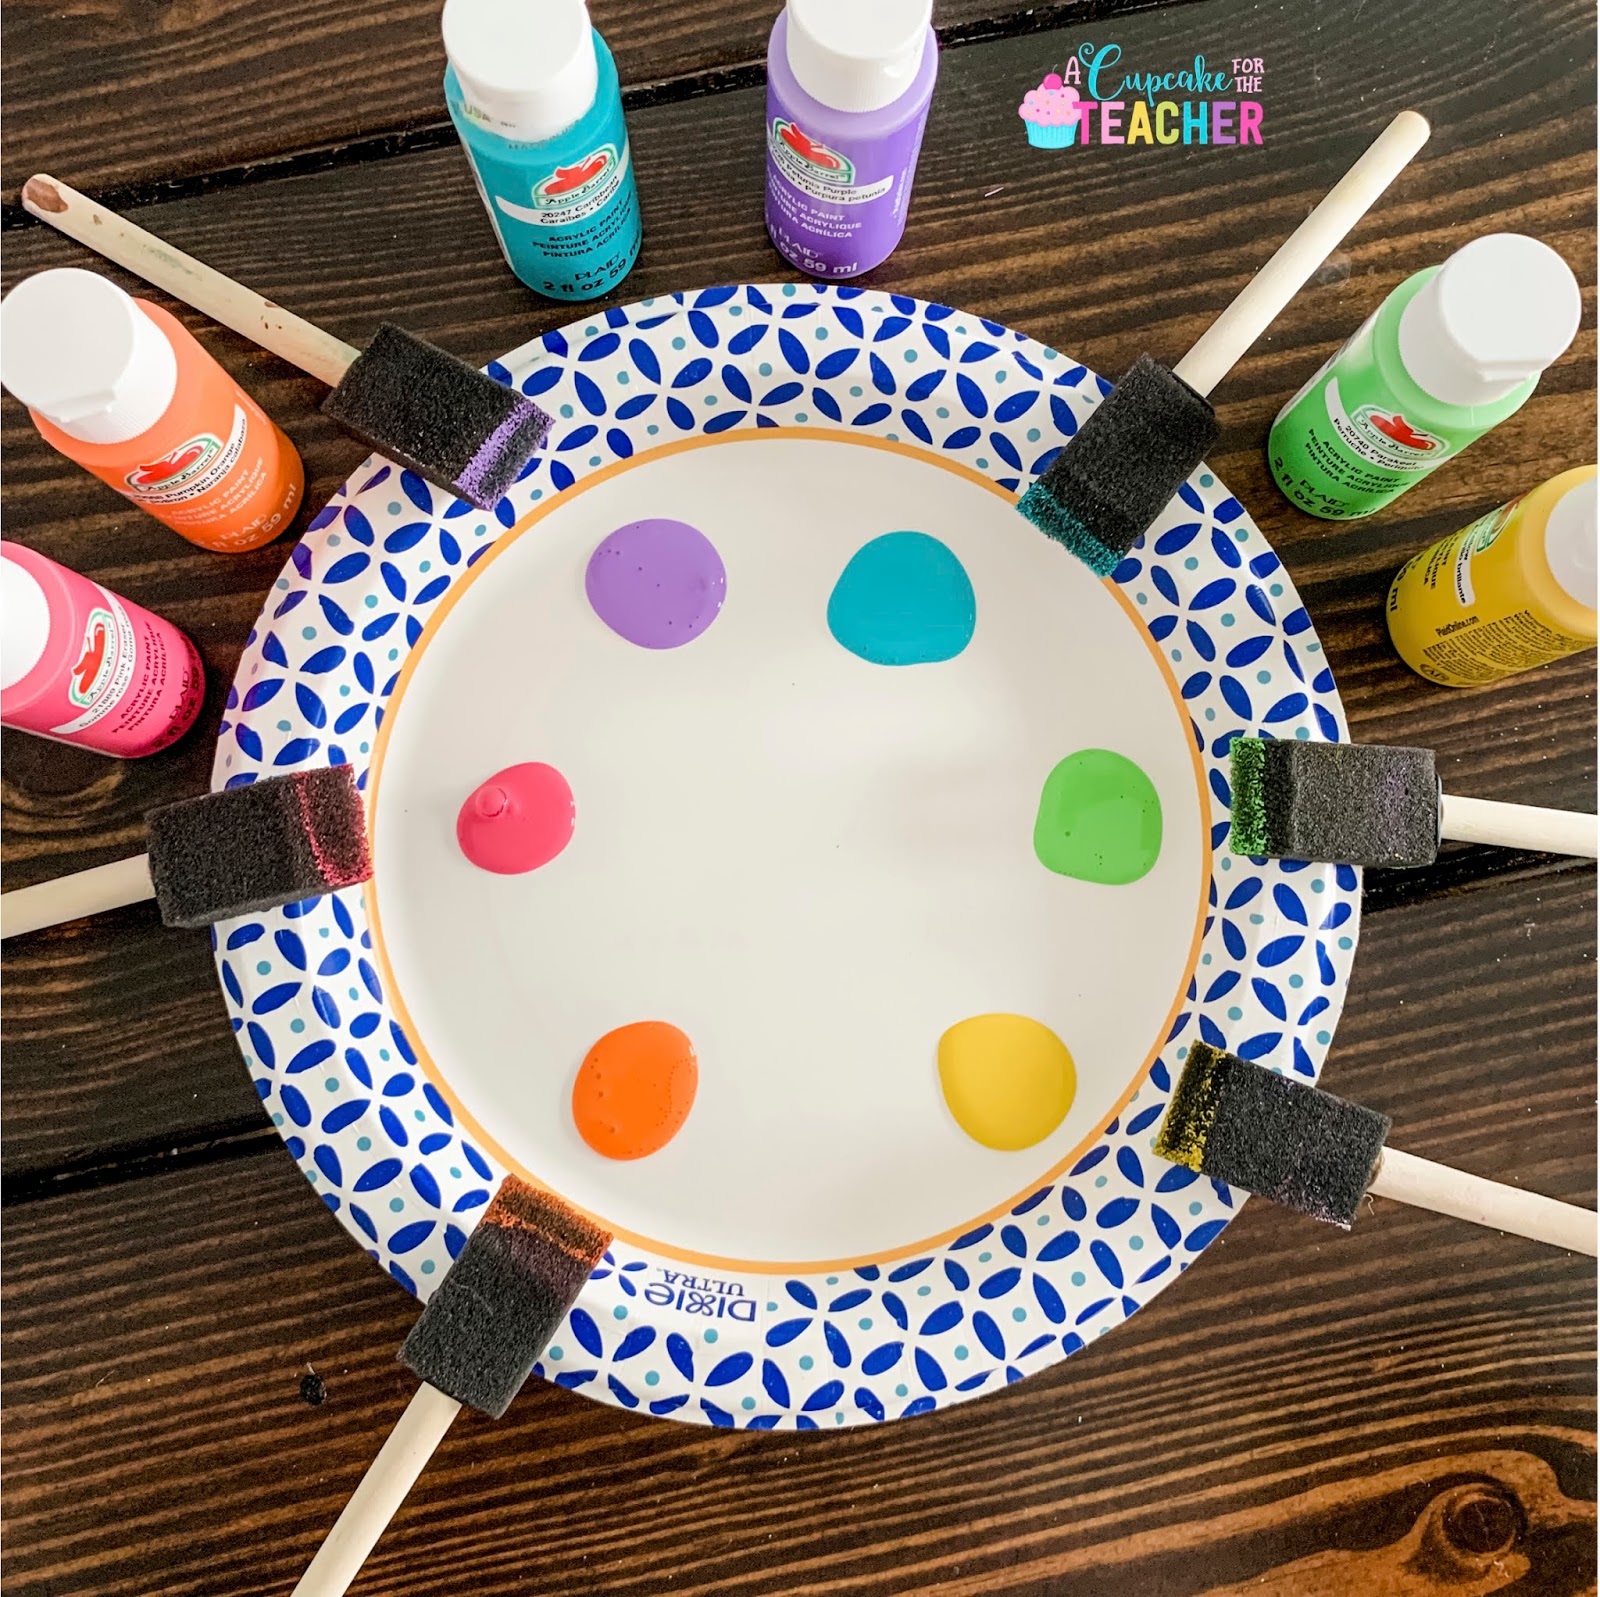
- craft paint (suggested: bright rainbow colors, white, red, and gold)
- ribbon (suggested: wired, glitter, bright rainbow colors)
- also: foam paint brushes, scissors, hot glue gun
Step-by-Step
1. Paint one cupcake for each month on the wood pallet. I made myself a little stencil and painted all the bottoms first, then all the middles, and so on. You could also choose another shape, like balloons, stars, etc. Allow paint to dry.
2. In Cricut Design Space, choose your fonts and images. If you’d like your sign to look like mine, HERE is the link to my design. Be sure to size everything appropriately to fit the wood piece that you are working with.
*Tip: If using two different colors of vinyl, change the colors of your images in Design Space and Cricut will automatically place them on separate cutting mats.
3. Select “Make It” then set the material to “Shimmer Vinyl.” Load the blade into the machine if it’s not already.
4. Place your vinyl on the machine mat, shimmer side up. Load the mat into the machine using the flashing arrow button. Then press the flashing Cricut symbol to start cutting!
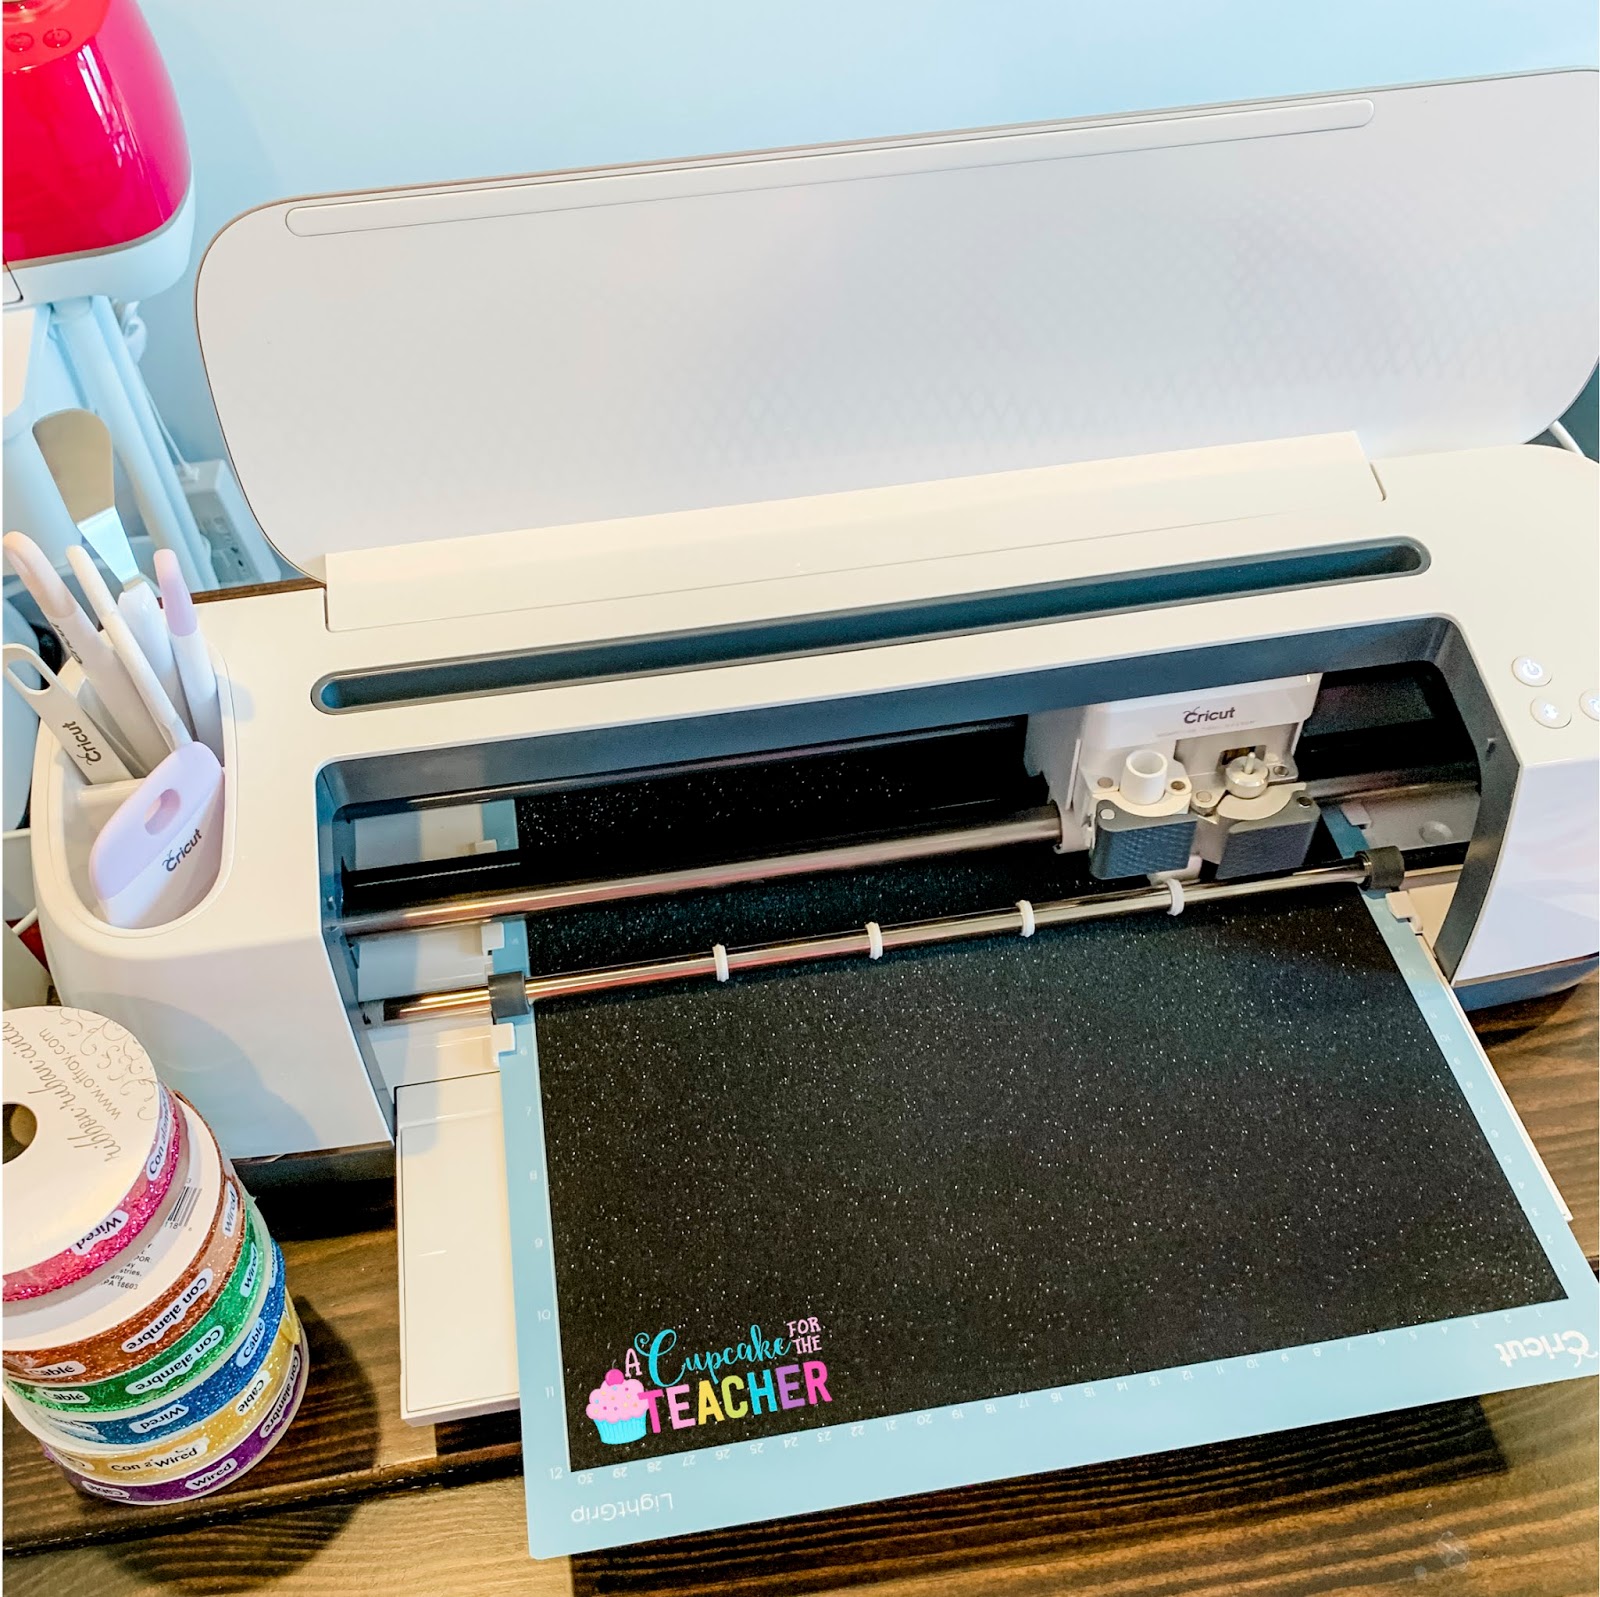
5. Peel the finished vinyl from the mat and remove any negative pieces from your design with a weeding tool. Your design images should remain on the liner.
6. After weeding, cut the elements of your design into separate parts (I separated each month so I had 12 pieces, and did the title in two parts). Place transfer tape over the design elements and use the scraper tool to transfer the design from the liner to the tape. Peel the transfer tape up carefully to remove the original vinyl liner.
7. Lay the design elements on top of the wood pallet where you want them to go. Press down with your hand and then burnish really well with the scraper tool. Lift off the transfer tape.

8. Measure and cut lengths of ribbon. Hot glue to the back of the wood pallet so they hang beneath each month.
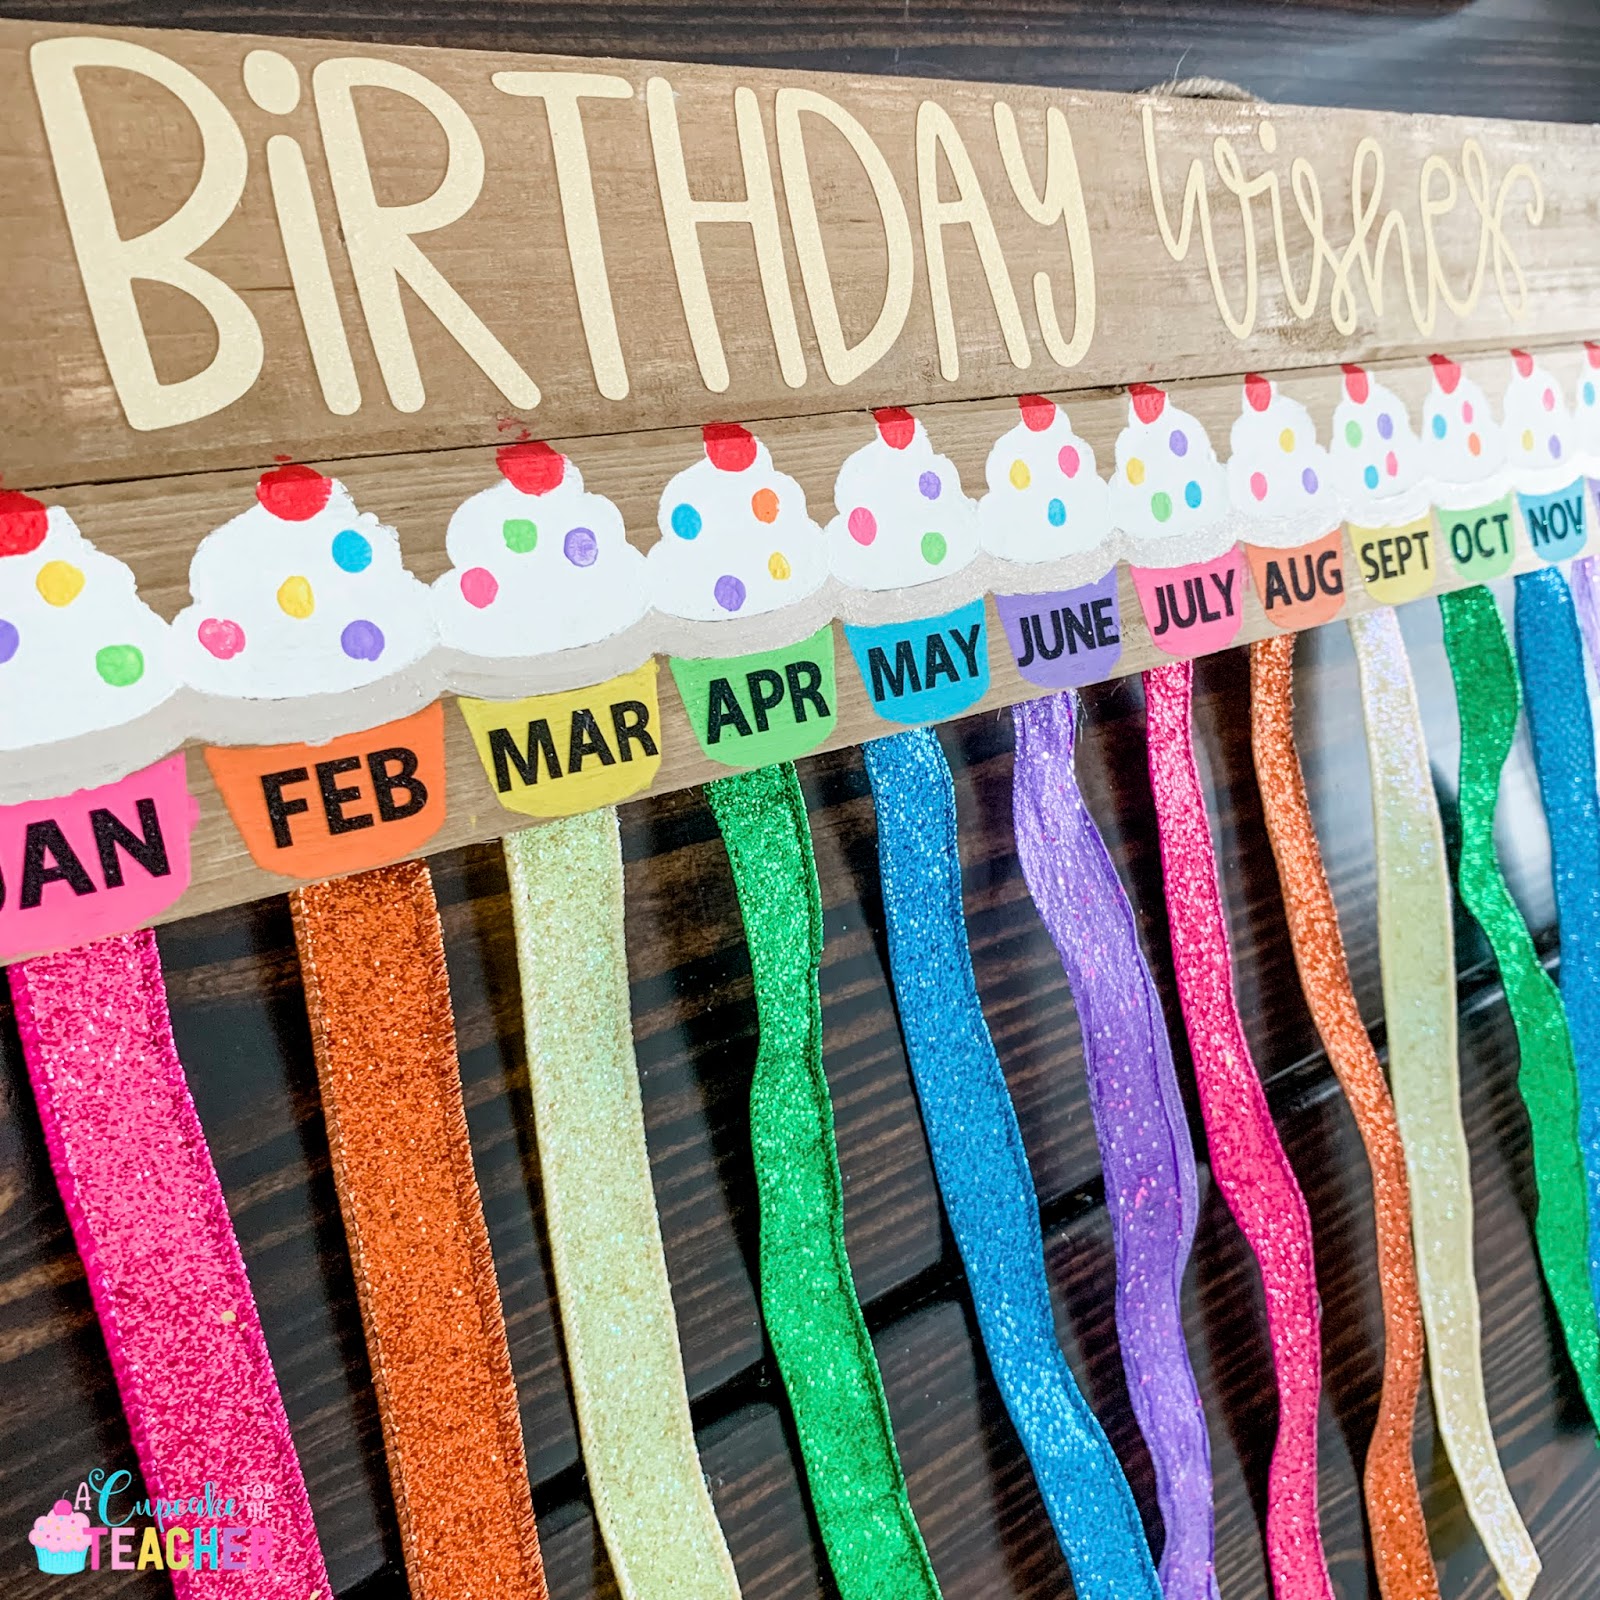
And that’s it! From there you can add clothespins with student names and birthdays, and clip them to the ribbon. Hang your birthday board in your classroom and ENJOY your hard work!
If you want to save this project for the future, feel free to pin the image below!